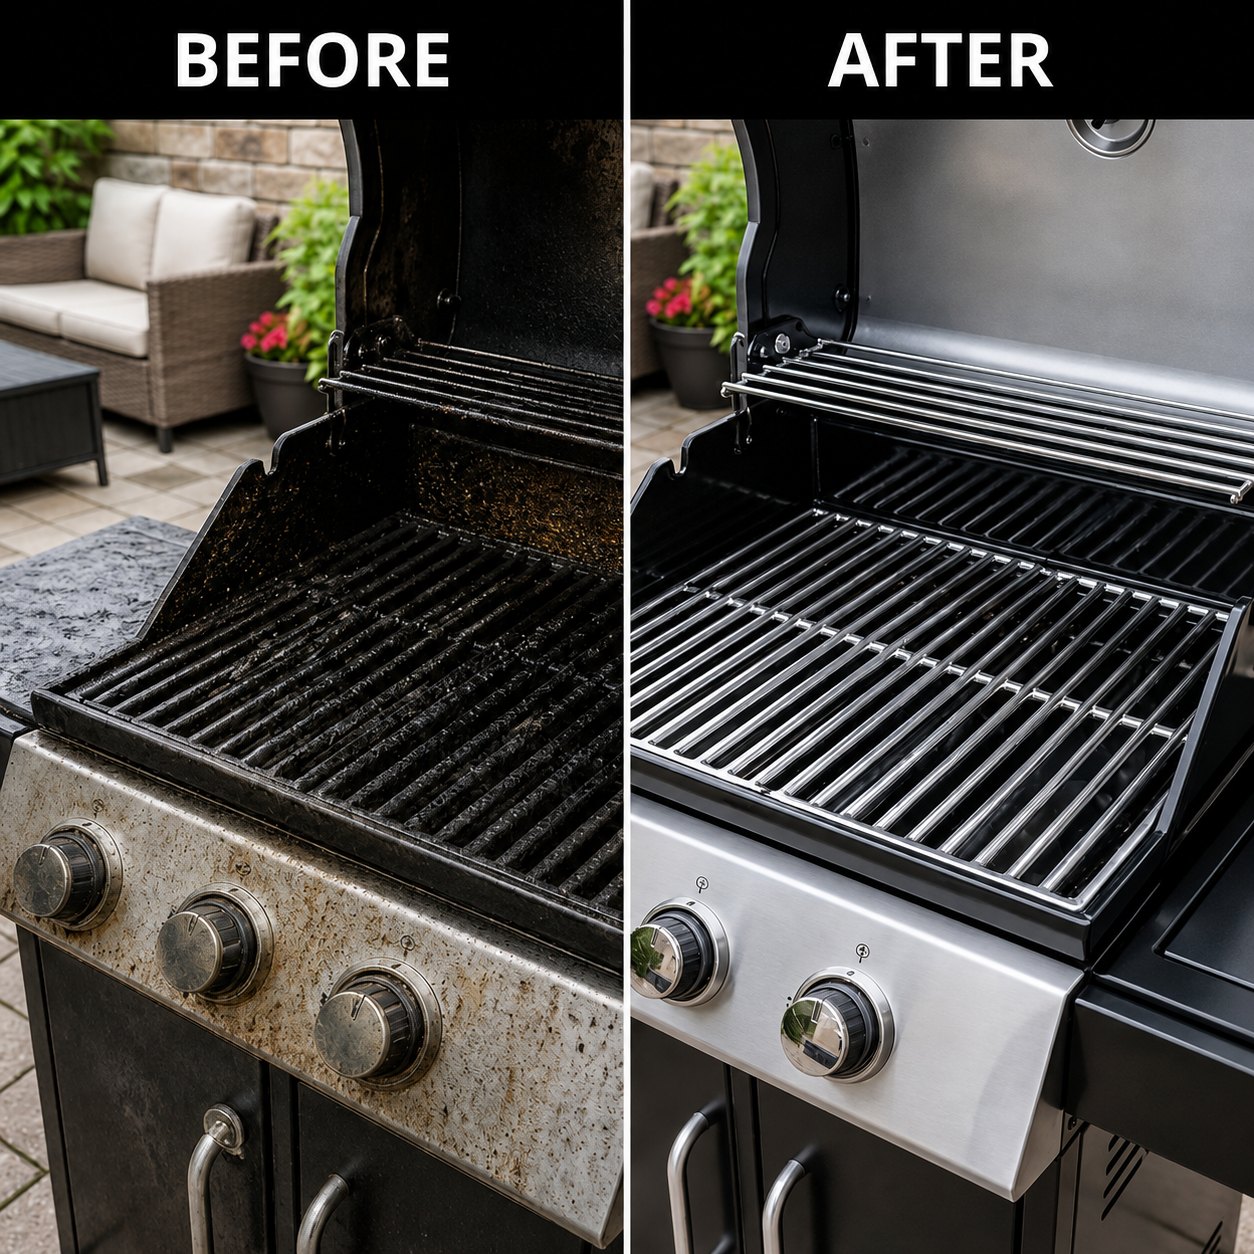
What makes a degreaser heavy duty
Household sprays are built for fresh, liquid grease: the film on a worktop an hour after cooking. A heavy-duty degreaser is built for grease that has been heated repeatedly until it polymerised into a hard carbon layer chemically bonded to metal — the black glaze on a grill grate or an oven floor.
That requires three things working together: surfactants to break surface tension and lift the layer, solvents to soften the polymer bonds, and enough alkalinity to saponify what's left into something water can rinse away. A spray with only the first of those will disappoint you on a grill grate every single time, no matter how many coats you apply.
Buying-guide criteria for heavy-duty degreasers
| Criteria | Why it matters | GreaseKiller™ |
|---|---|---|
| Dwell time | Long dwell times don't get followed on a real schedule | ~2 minutes |
| Format | Liquid runs off vertical grates and hood filters | Clinging foam |
| Fumes | Caustic fumes force ventilation and evacuation | Low odour, window-open use |
| Surface risk | Wrong pH strips coatings and etches soft metal | Safe on stainless, cast iron, porcelain enamel |
| Cost per clean | Cheap bottles that need 3 coats aren't actually cheap | $0.60–$1.60 depending on bundle |
Where heavy-duty degreaser earns its place
- BBQ grates, flame tamers and drip pans at end of season.
- Oven floors, doors and racks with layered spill carbon.
- Extractor hood filters clogged solid with airborne fat.
- Deep fryers and air fryer baskets with a varnished interior.
- Commercial kitchen line equipment cleaned on a nightly schedule.
- Engine bays, workshop benches and tools with oily film.
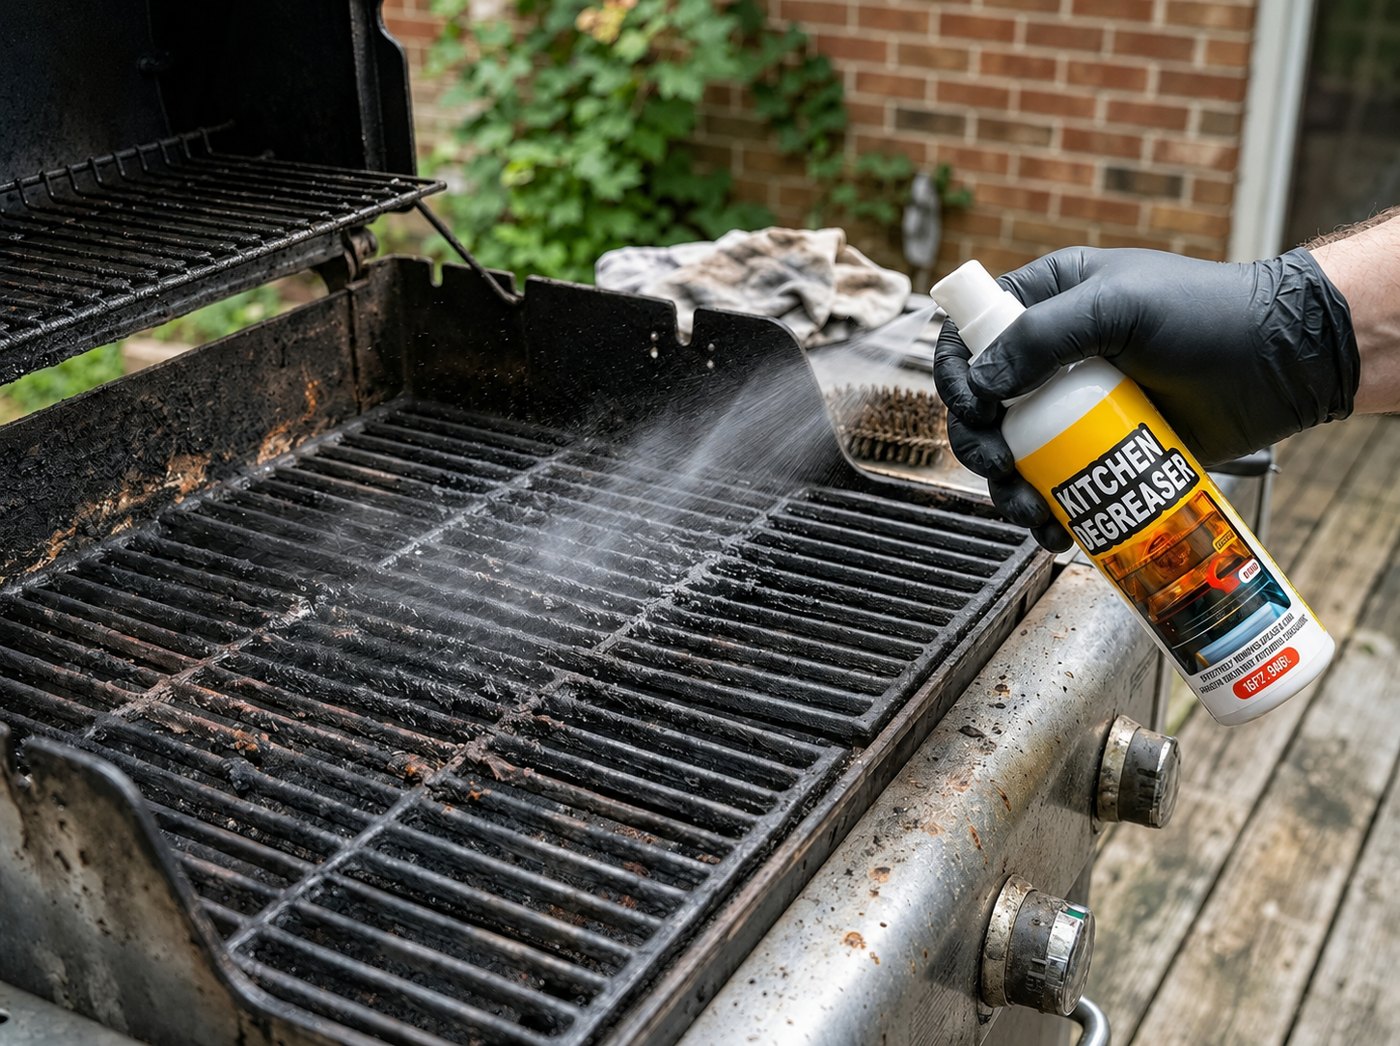
Heavy duty without the caustic downside
Industrial degreasers traditionally get their power from high-concentration lye. It works, and it comes with fumes, mandatory gloves, long dwell times and a real risk to aluminium and painted coatings if you overshoot the contact time.
GreaseKiller™ takes the solvent-and-surfactant route instead: strong enough for carbonised grease at two minutes, mild enough to use indoors with a window open. On truly catastrophic, decade-old build-up a caustic product may still win on a single pass — for everything most people actually meet, this is the better trade of speed, safety and surface risk.
Time, cost and risk compared
Every method below removes grease eventually. The difference is how long it takes, what it costs per clean, and how much of your surface finish it takes with it.
| Method | Hands-on time | Cost per clean | Risk to finish |
|---|---|---|---|
| GreaseKiller™ foam | 2 min | $0.73–$1.58 | Low — safe on stainless, cast iron, enamel |
| Caustic industrial degreaser | 20–30 min + rinse | $0.50–$1.20 | High — etches aluminium, damages coatings |
| Wire brush + elbow grease | 15–25 min scrubbing | ~$0 (tool cost only) | Medium — scratches soft finishes |
| Baking soda paste | 45–60 min + scrubbing | ~$0.20 | Low, but mostly ineffective on hard carbon |
Getting maximum strength out of it
- 1
Let the surface cool completely
Never spray a hot surface. Wait until the surface is cool to the touch, then brush or wipe away loose crumbs, ash and food debris so the foam reaches the grease itself.
- 2
Spray an even coat of foam
Hold the bottle 4–6 inches away and lay down a thin, even layer. The foam is designed to cling to vertical surfaces, so you don't need to soak anything.
- 3
Wait about two minutes
This is where the work happens. The formula penetrates the carbonised layer and breaks its bond with the metal. Very heavy build-up may want 4–5 minutes or a second coat.
- 4
Wipe, rinse and dry
Wipe in one direction with a damp microfibre cloth. Use a soft brush on textured cast iron. Rinse any surface that will touch food, then dry to prevent water spots.
How we tested this
Everything below comes from bench runs on polymerised grease and hard carbon rather than marketing copy. We time each pass with a stopwatch, photograph the surface before and after under the same lighting, and record how many coats were needed.
- Bench tests on 6 test panels: stainless steel, cast iron, porcelain enamel, painted steel, bare aluminium and anodised aluminium.
- Carbon layer built up over 8 controlled heat-and-cool cycles to simulate several months of grill or oven use.
- Single 2-minute dwell timed with a stopwatch, then one wipe pass with a microfibre cloth — no scrubbing added.
- Photographed before and after under identical lighting to compare residual carbon coverage by eye and by weight.
Mistakes that ruin the result
- Spraying a still-hot grill or oven — the foam flashes off before it can penetrate the carbon layer.
- Using it on bare, unfinished aluminium or unsealed wood — the alkalinity can dull or discolour these surfaces.
- Skipping the rinse on food-contact metal — always rinse and dry anything food will touch.
- Assuming decade-old, cracked carbon will lift in one pass — heavy build-up usually needs a second coat, not a stronger chemical.
- Using it on natural stone (soapstone, unsealed granite) around a grill surround — test a hidden spot first.
How many bottles do you actually need?
One bottle covers roughly 12–15 full cleans. Most people underbuy, run out mid-job and pay shipping twice — the multi-packs exist to avoid that, and the per-bottle price drops sharply as the pack grows.
| Your situation | Recommended pack | Price per bottle |
|---|---|---|
| Occasional home griller | 1–3 bottles | $13–$19 |
| Weekly griller or family kitchen | 5 bottles | $11 |
| Multiple appliances / small commercial kitchen | 8 bottles | $9 |
Try GreaseKiller™ risk-free
Bundles start at $9 a bottle with free worldwide shipping and a 90-day results-or-refund guarantee. Checkout takes under a minute.
Get 50% Off Now