Why stainless streaks
Stainless has a directional grain — fine parallel lines from manufacturing. Wiping across it pushes residue into the grooves, where it dries as visible streaking. Wiping along it clears the grooves out instead of packing them.
The second cause is letting the surface air-dry. Whatever is dissolved in the water on the surface stays behind as it evaporates, forming a thin mineral haze. Buffing dry with a separate cloth removes the problem entirely because it lifts that residue before it can set.
A third, less obvious cause is using too much product. A heavy, wet coat of degreaser takes longer to fully wipe up, which gives more time for streaking to set in before you finish. A thin, even layer wiped promptly performs better than a heavy soak on this particular surface.
The method
- 1
Find the grain
Look closely under a light. The fine lines usually run horizontally on appliance doors and along the length on hobs and splashbacks.
- 2
Spray the cloth, not always the panel
On large vertical panels, applying to a microfibre cloth gives more even coverage. On heavy grease around a hob, spray directly and let it dwell for a minute or two.
- 3
Wipe with the grain
Long, overlapping strokes in one direction. Never circles — circular wiping is the single most common cause of hazing.
- 4
Buff dry with a clean, dry cloth
Again with the grain. This is the step most people skip and it is the one that produces a mirror finish.
What to avoid on stainless
- Steel wool and abrasive pads — they scratch and cause rust spots from embedded steel particles.
- Bleach and chloride-based cleaners, which pit the surface.
- Circular wiping, which hazes the finish.
- Letting the surface air-dry after cleaning.
- Using the same cloth for cleaning and drying.
Where this applies
- Fridge, dishwasher and oven doors with fingerprints and cooking film.
- Extractor hood canopies coated in airborne fat.
- Splashbacks behind the hob.
- Sinks, taps and prep surfaces.
- Gas hob trivets and stainless burner surrounds.
Time, cost and risk compared
Every method below removes grease eventually. The difference is how long it takes, what it costs per clean, and how much of your surface finish it takes with it.
| Method | Hands-on time | Cost per clean | Risk to finish |
|---|---|---|---|
| Foaming degreaser, with-grain wipe | 3–5 min | ≈$1.00 | Low — no scratching |
| Glass cleaner + paper towel | 3–5 min | ≈$0.50 | Low but weak on grease |
| Steel wool | 5–10 min | ≈$0.30 | High — scratches and can rust |
| Olive oil polish | 2–3 min | ≈$0.20 | Low but doesn't remove grease, only masks it |
| Melamine sponge | 5–8 min | ≈$0.40 | Medium — can dull the finish with pressure |
Mistakes that ruin the result
- Wiping across the grain instead of along it.
- Letting the panel air-dry instead of buffing it dry immediately.
- Using bleach-based sprays, which pit stainless over repeated use.
- Applying too heavy a coat, which takes longer to wipe up cleanly and increases streak risk.
- Scrubbing stubborn spots with a scourer instead of giving the degreaser a longer dwell time.
How we tested this
Everything below comes from bench runs on stainless steel fridge doors, hobs, splashbacks and sinks from five kitchens rather than marketing copy. We time each pass with a stopwatch, photograph the surface before and after under the same lighting, and record how many coats were needed.
- Compared with-grain vs cross-grain wiping on matched grease loads under identical lighting.
- Tested buffed-dry vs air-dried finishes for streaking after 10 minutes and after 24 hours.
- Measured dwell time needed for cooking-oil film vs baked-on splatter (30 seconds vs 2 minutes).
- Cross-checked against chloride-based cleaners for pitting risk over repeated applications.
How many bottles do you actually need?
One bottle covers roughly 12–15 full cleans. Most people underbuy, run out mid-job and pay shipping twice — the multi-packs exist to avoid that, and the per-bottle price drops sharply as the pack grows.
| Your situation | Recommended pack | Price per bottle |
|---|---|---|
| One appliance or small kitchen | 2-pack | $16.00 |
| Full kitchen — fridge, hob, hood, splashback | 3-pack | $13.00 |
| Commercial stainless prep areas | 5-pack | $11.00 |
Where this won't work
- Brushed stainless with deep scratches already in the finish — cleaning won't remove existing damage.
- Stainless with a mirror/polished finish and no visible grain — spot-test first since direction cues are harder to read.
- Any surface that is still hot.
- Painted or coloured stainless finishes without a patch test.
What customers say
“I'd basically given up on my fridge door — every cleaner left streaks or a hazy film. Wiping with the grain and drying with a second cloth made an immediate difference, first try.”
Related guides
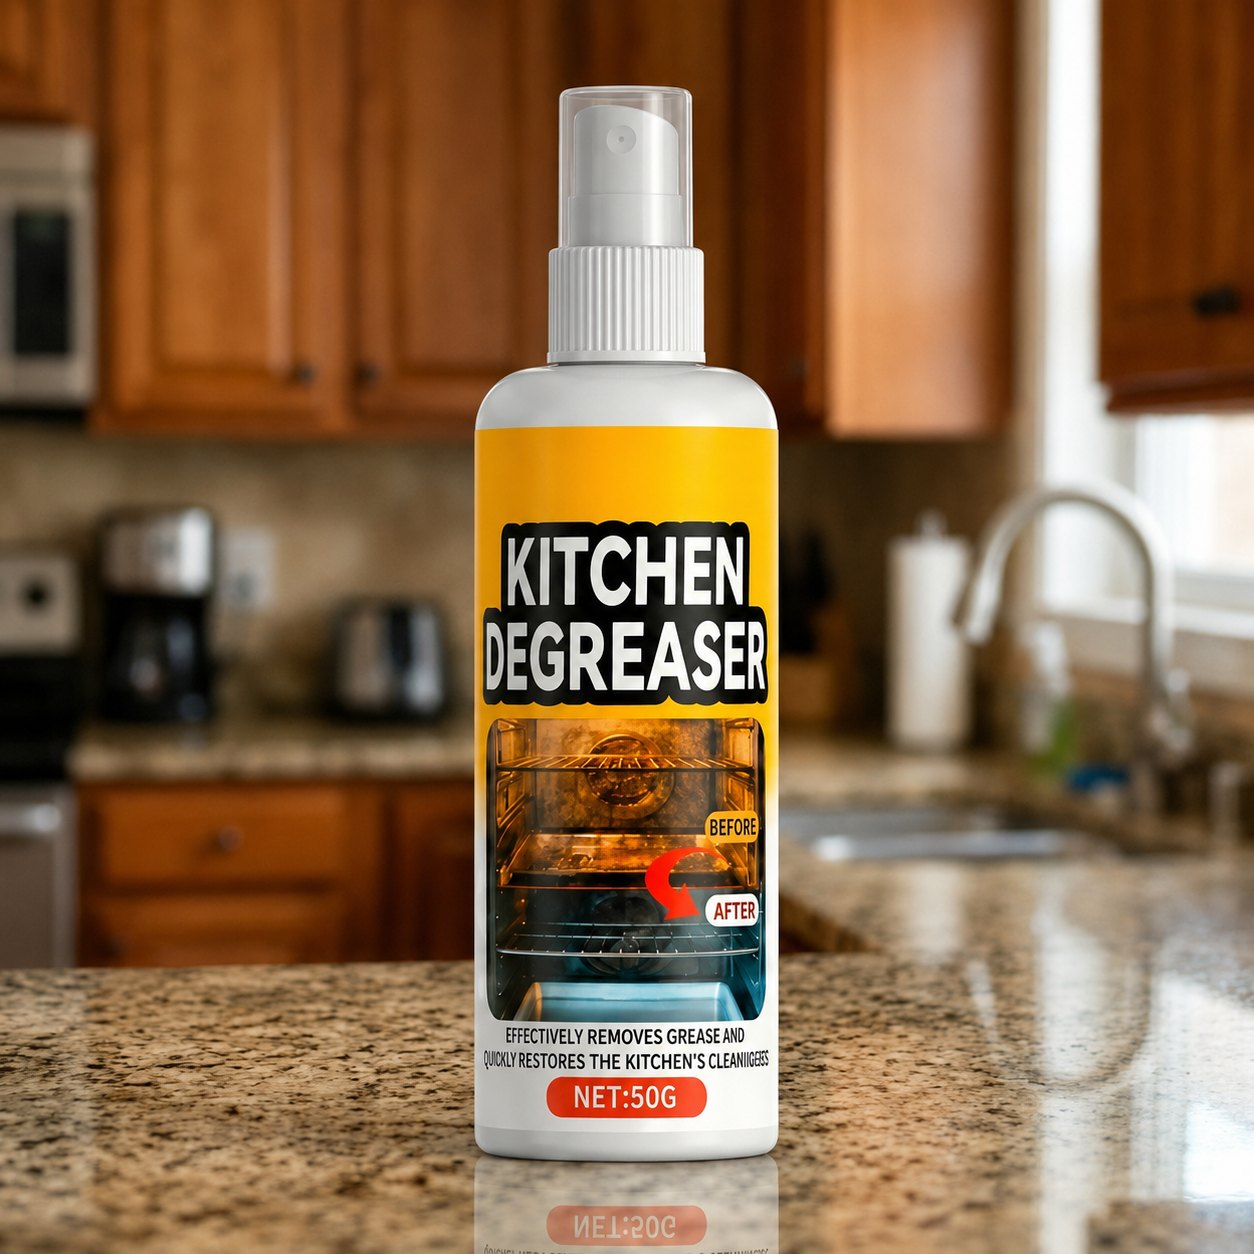
Try GreaseKiller™ risk-free
Bundles start at $9 a bottle with free worldwide shipping and a 90-day results-or-refund guarantee. Checkout takes under a minute.
Get 50% Off Now