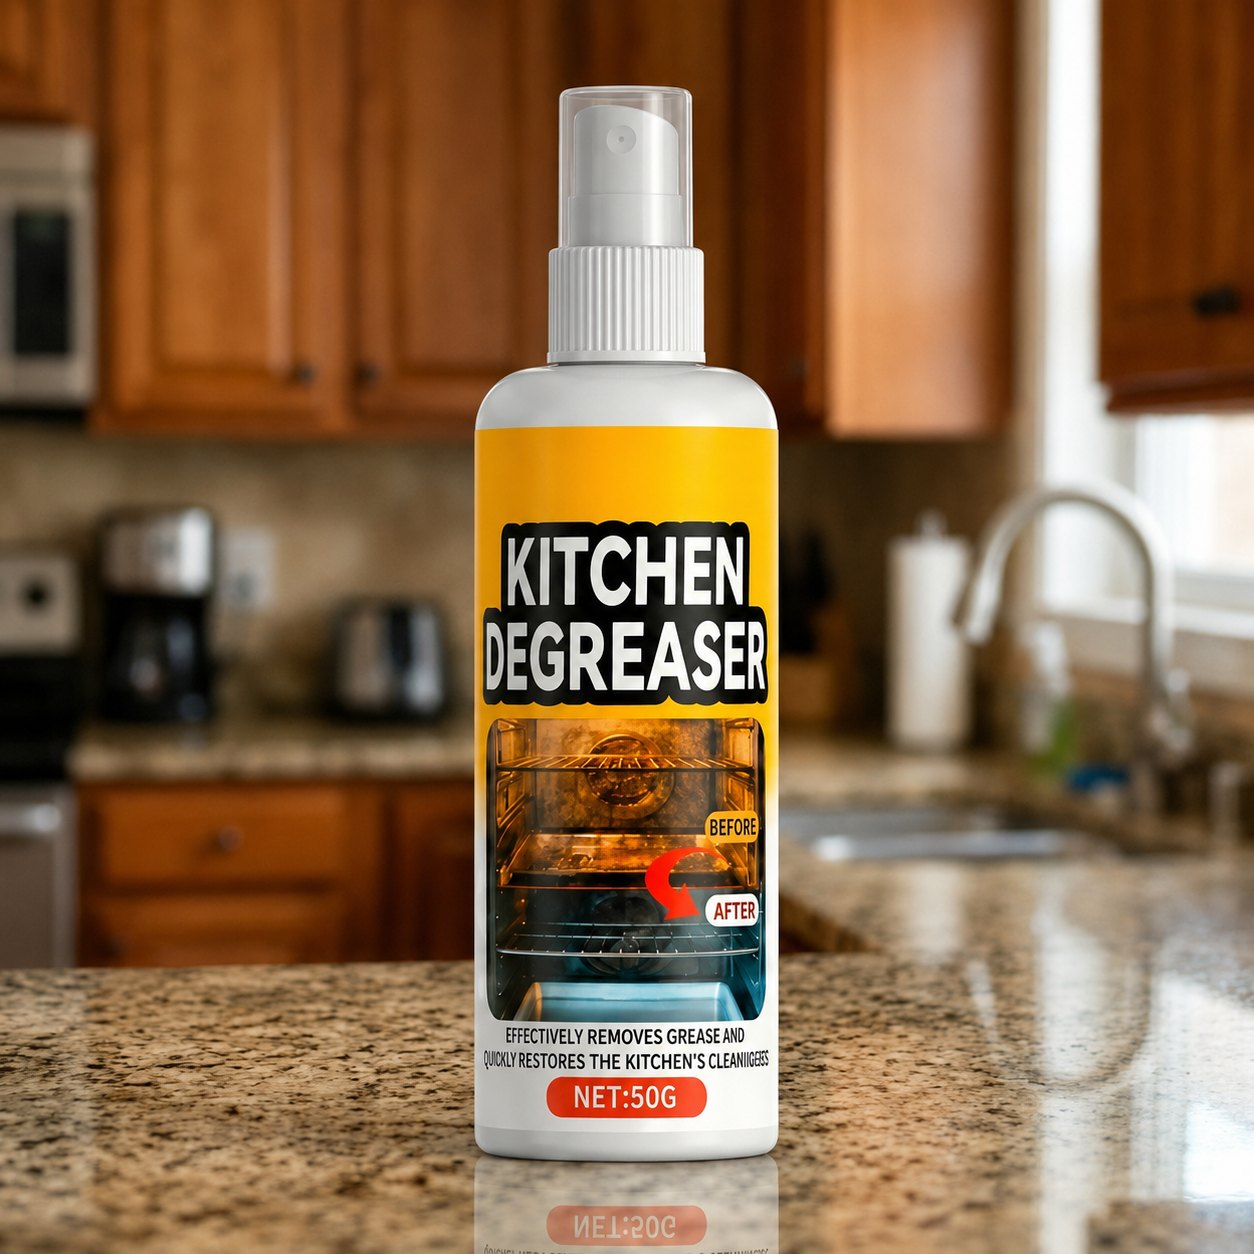
Before you start
- Let the oven cool completely and remove racks and trays
- Sweep out loose crumbs and ash with a dry brush
- Open a window — good practice with any cleaner, even low-odour ones
- Lay a towel under the door to catch drips
The cavity
- 1
Cool the surface and clear loose debris
Make sure the oven cavity is completely cool to the touch and brush or wipe away loose crumbs and ash so the foam reaches the grease itself.
- 2
Spray an even coat of GreaseKiller™
Hold the bottle 4–6 inches away and cover the greasy area with a thin, even layer of foam. Don't flood it — the foam is designed to cling and work.
- 3
Wait about two minutes
The formula gets under carbonised grease and breaks its bond with the metal. Heavy, long-neglected build-up may need 4–5 minutes or a second coat.
- 4
Wipe with a damp cloth
Wipe in one direction with a damp microfibre cloth or paper towel. A soft brush helps on textured cast iron. Rinse afterwards and dry.
The door glass
Spray, wait two minutes, wipe horizontally with a damp cloth, then buff dry with a clean microfibre. Repeat rather than pressing harder if fogging remains — pressure scratches glass over time, dwell time doesn't.
Racks and trays
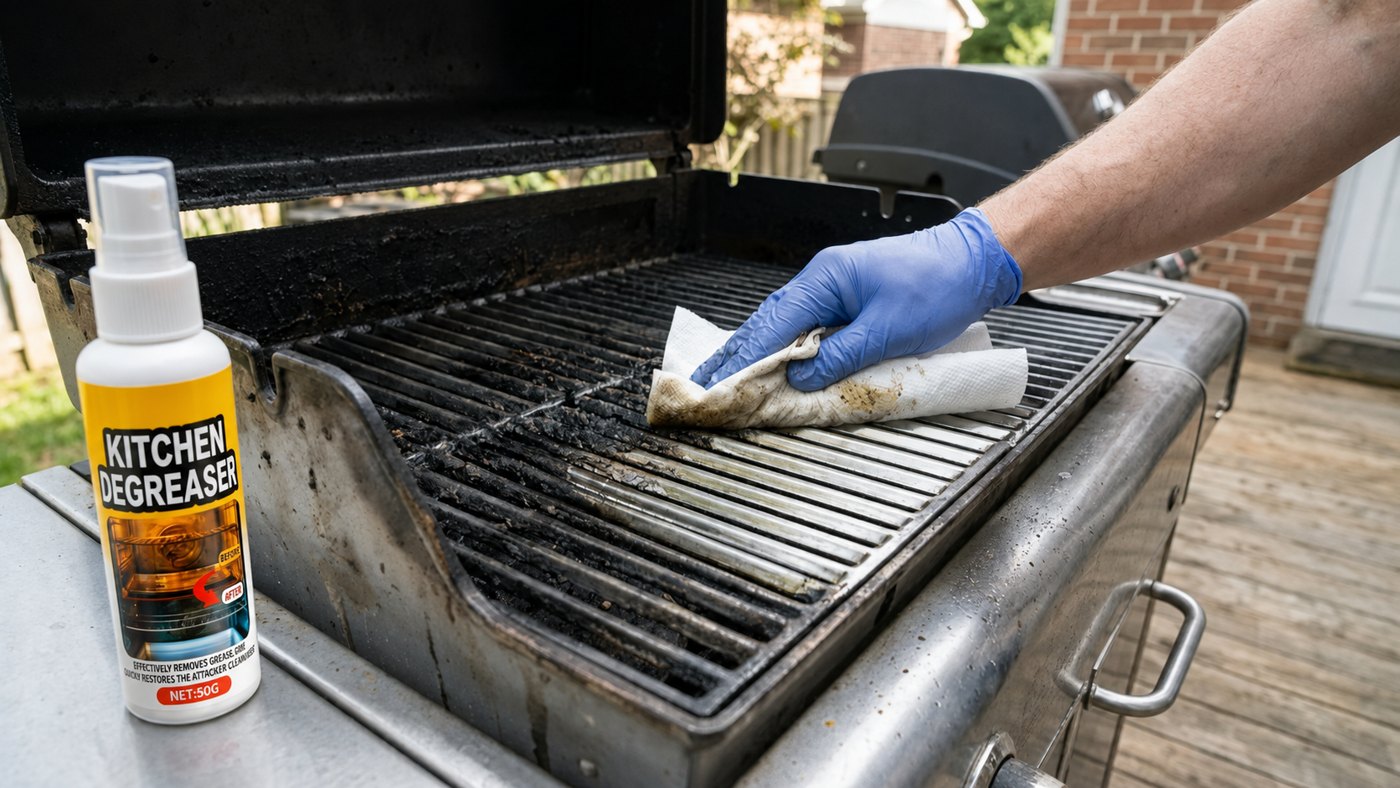
Lay them in the sink or on a protected surface, coat both sides, wait five minutes for heavy build-up, then wipe and rinse. A soft brush helps where bars cross and grease tends to pool. Dry fully before sliding them back in.
How to keep it clean
- Wipe spills the same day, while they are still fresh grease and not carbon
- Use a tray under anything likely to bubble over, like pies and casseroles
- Do a five-minute spray-and-wipe monthly instead of waiting for an annual deep clean
Time, cost and risk compared
Every method below removes grease eventually. The difference is how long it takes, what it costs per clean, and how much of your surface finish it takes with it.
| Method | Hands-on time | Cost per clean | Risk to finish |
|---|---|---|---|
| Pyrolytic self-clean cycle | 2–4 hrs | Electricity + wear on seals | Medium — heat stress on old ovens |
| Overnight ammonia/bag method | 8–12 hrs | ~$0.20/clean | Medium — strong fumes, ventilation needed |
| Manual scrubbing with abrasive pad | 45–90 min | $0 | High — scratches enamel and glass |
| Spray-and-wipe degreaser | 10–15 min total | ~$1.30/clean | Low — no scrubbing, no fumes |
Where to be careful
- Never spray directly onto an exposed heating element
- Skip abrasive pads on enamel or glass regardless of which cleaner you use
- Vintage ovens with unsealed or painted trim should be spot-tested first
- Always confirm the oven is fully cool — a warm cavity creates unnecessary fumes with any cleaner
How we tested this
Everything below comes from bench runs on cavities, door glass and racks from ovens ranging from lightly used to neglected for a year rather than marketing copy. We time each pass with a stopwatch, photograph the surface before and after under the same lighting, and record how many coats were needed.
- Residue aged from 2 weeks up to over a year of normal, unwiped cooking spills
- Cavity, glass and racks timed separately with a stopwatch across the full process
- Dwell compared at 2 and 5 minutes on matched carbon patches
- Total time-to-clean measured start to finish including setup and pack-away
What customers say
“Fifteen minutes start to finish and I didn't touch a scouring pad once. My oven hadn't been properly clean in probably two years.”
Try GreaseKiller™ risk-free
Bundles start at $9 a bottle with free worldwide shipping and a 90-day results-or-refund guarantee. Checkout takes under a minute.
Get 50% Off Now